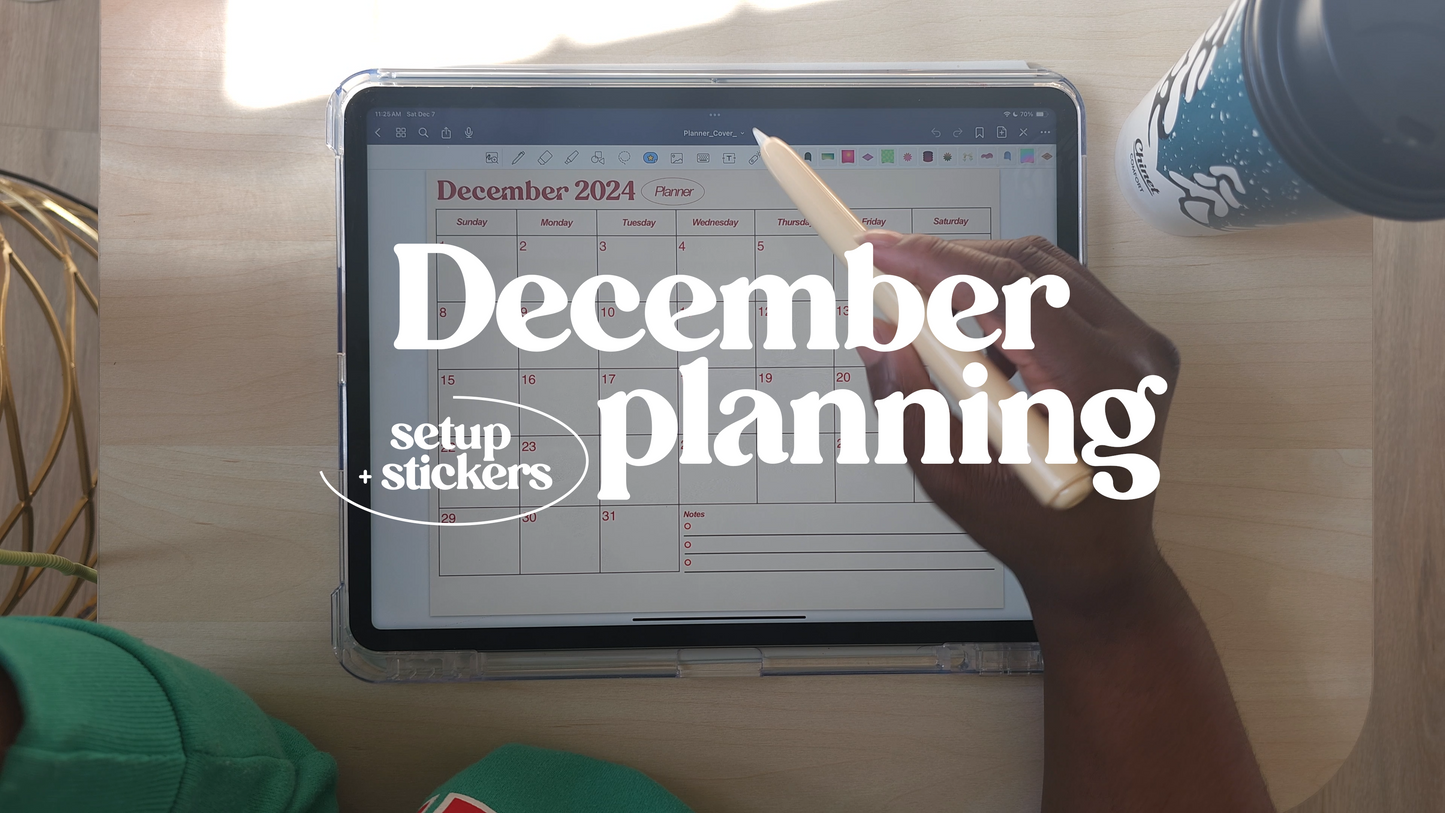
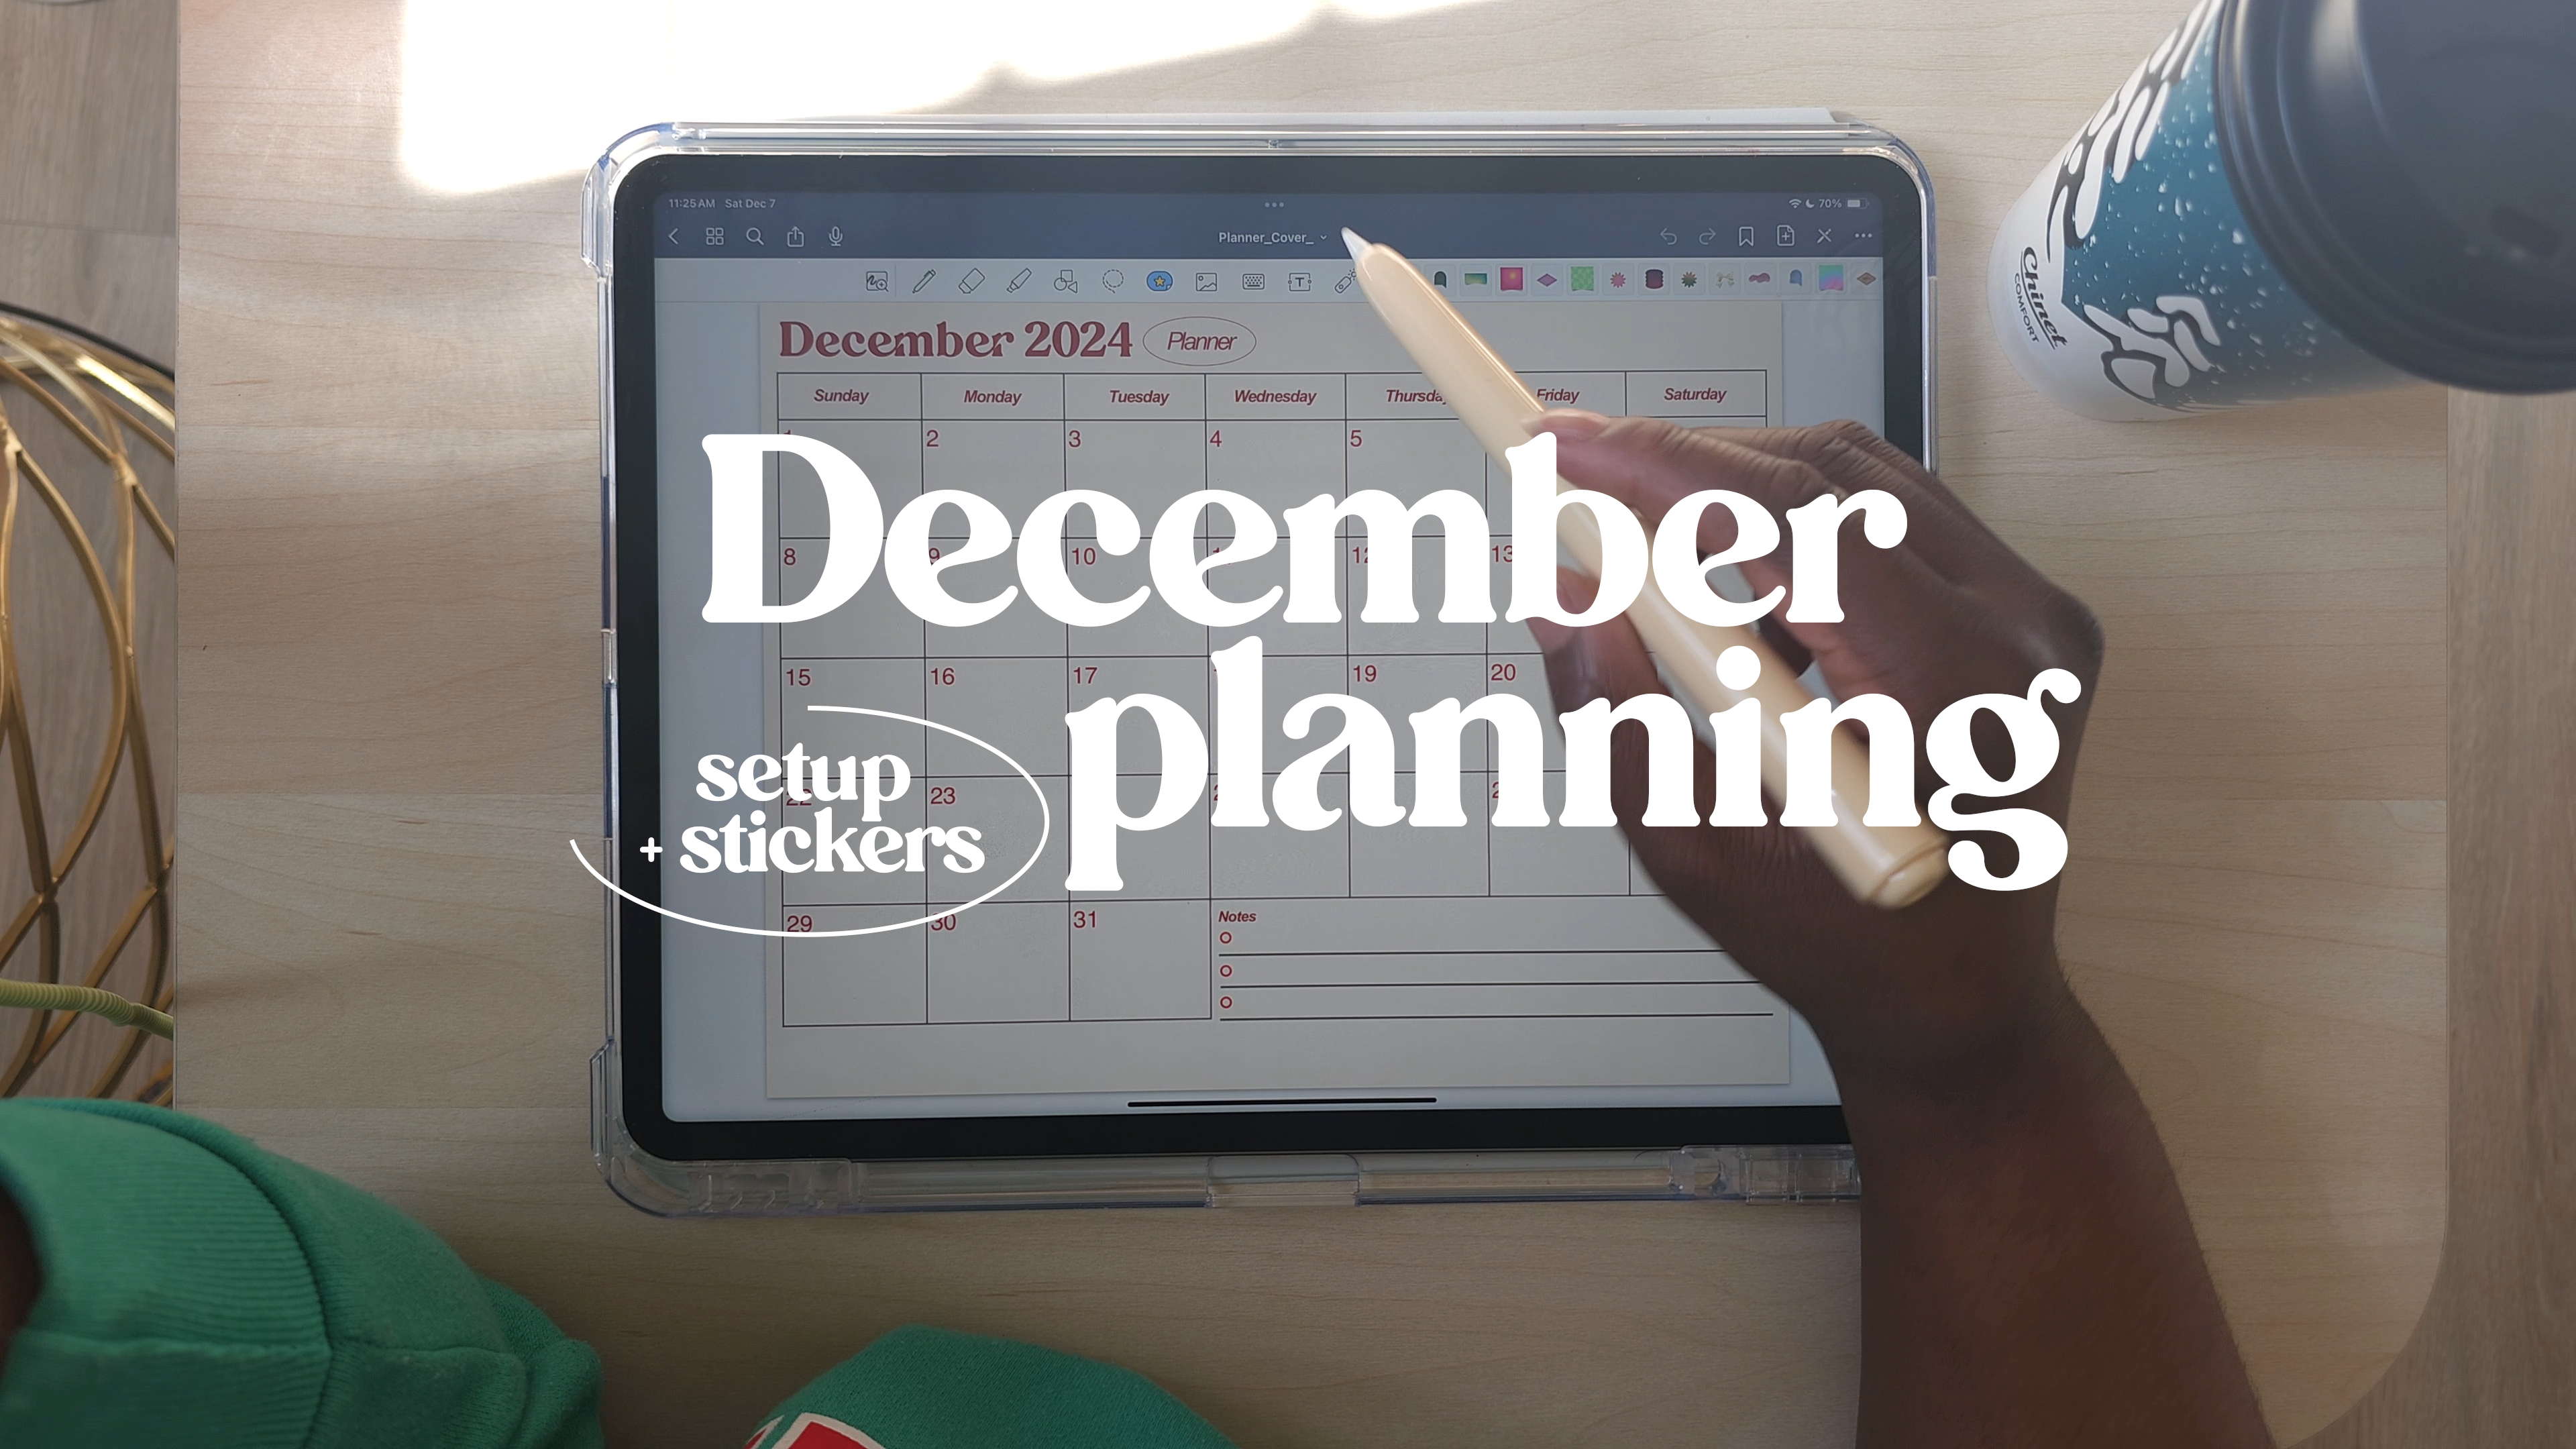
Get ready to design your perfect December digital planner! In this blog, I’ll walk you through creating custom planner pages, festive stickers, and a cover from scratch. Plus, I’ll show you how to import everything into GoodNotes and start planning your month like a pro. Perfect for anyone looking to combine creativity and productivity with their iPad!
Plan With Me: Creating a Custom December Digital Planner in GoodNotes
Are you ready to get organized and creative this December? 🌟 Digital planning has completely transformed the way I stay on top of my goals, and GoodNotes is my go-to app for designing beautiful, functional planners. In this blog, I’ll take you through my process of designing a monthly planner, stickers, and a cover page—all from scratch! Plus, I’ll show you how to import everything into GoodNotes and start using your new planner right away.

Step 1: Designing the December Planner Pages
The first step in creating your digital planner is designing the layout for your monthly and weekly spreads. I love adding a festive December vibe with cozy holiday colors and cute fonts. 🎄✨
You can use tools like Procreate or Canva to design your planner pages. Make sure to include plenty of space for goals, reminders, and to-do lists so your planner is as functional as it is beautiful.
Step 2: Creating Custom Planner Stickers
Planner stickers are the perfect way to add personality and functionality to your spreads. For this project, I designed stickers with holiday themes, like snowflakes, presents, and colorful to-do flags. ❄️🎁
To create your own, you can use apps like Procreate or even free tools like Canva. Save them as transparent PNGs so they’re easy to import into GoodNotes.

Step 3: Adding a Personalized Cover Page
Your planner cover sets the tone for your entire planning experience. For December, I went with a cozy, festive design featuring warm reds and greens with a touch of sparkle. ✨
A personalized cover makes your planner feel uniquely yours and keeps you inspired to stay organized throughout the month.
Step 4: Importing Everything into GoodNotes
Once your designs are ready, it’s time to bring them into GoodNotes. Simply import your planner pages and stickers, and organize them into a notebook. You can drag and drop stickers onto your spreads to decorate as you plan! 📱
Pro tip: Save your planner and stickers as a template in GoodNotes for easy use in the future.
Step 5: Filling Out Your Planner
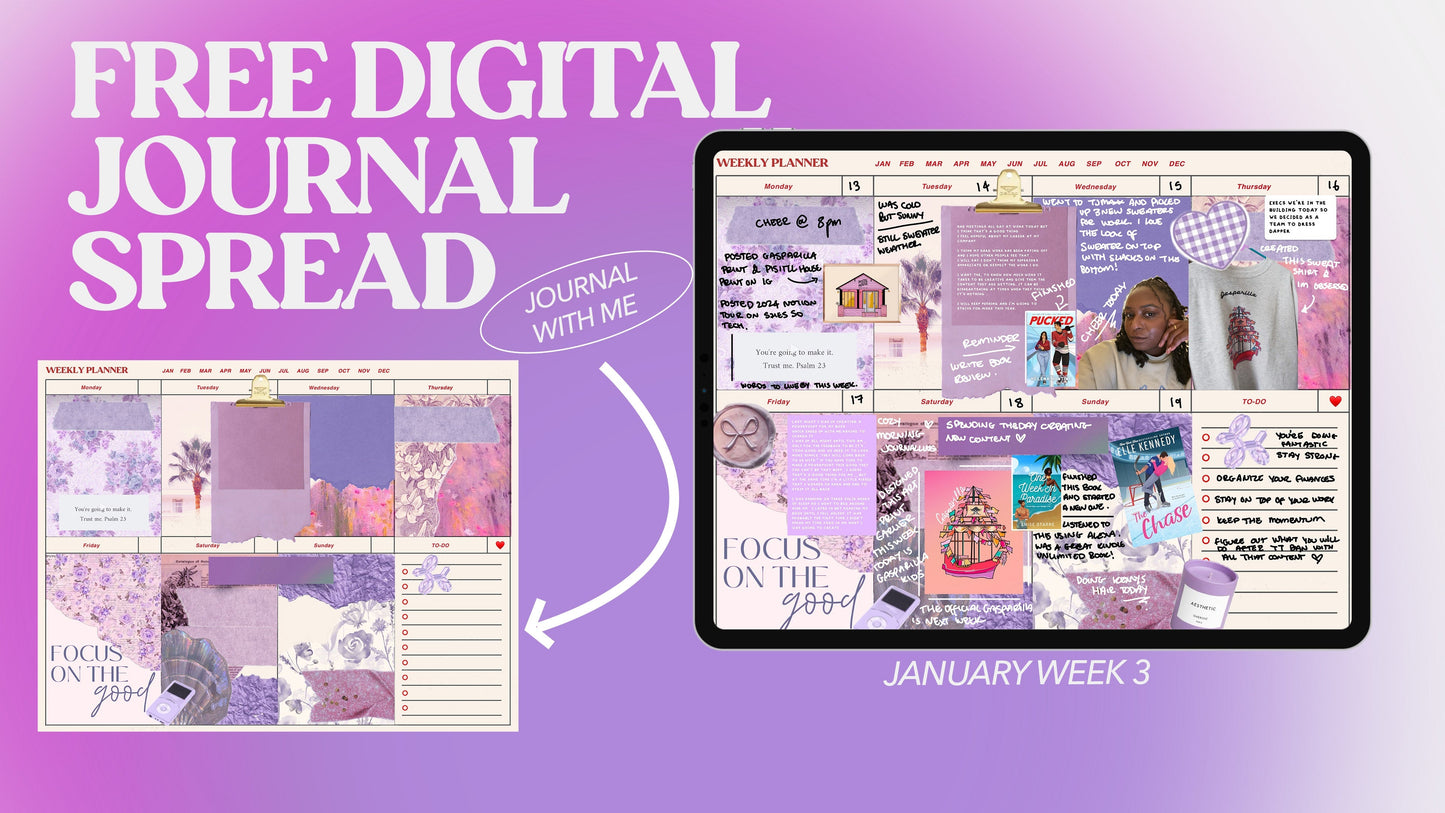
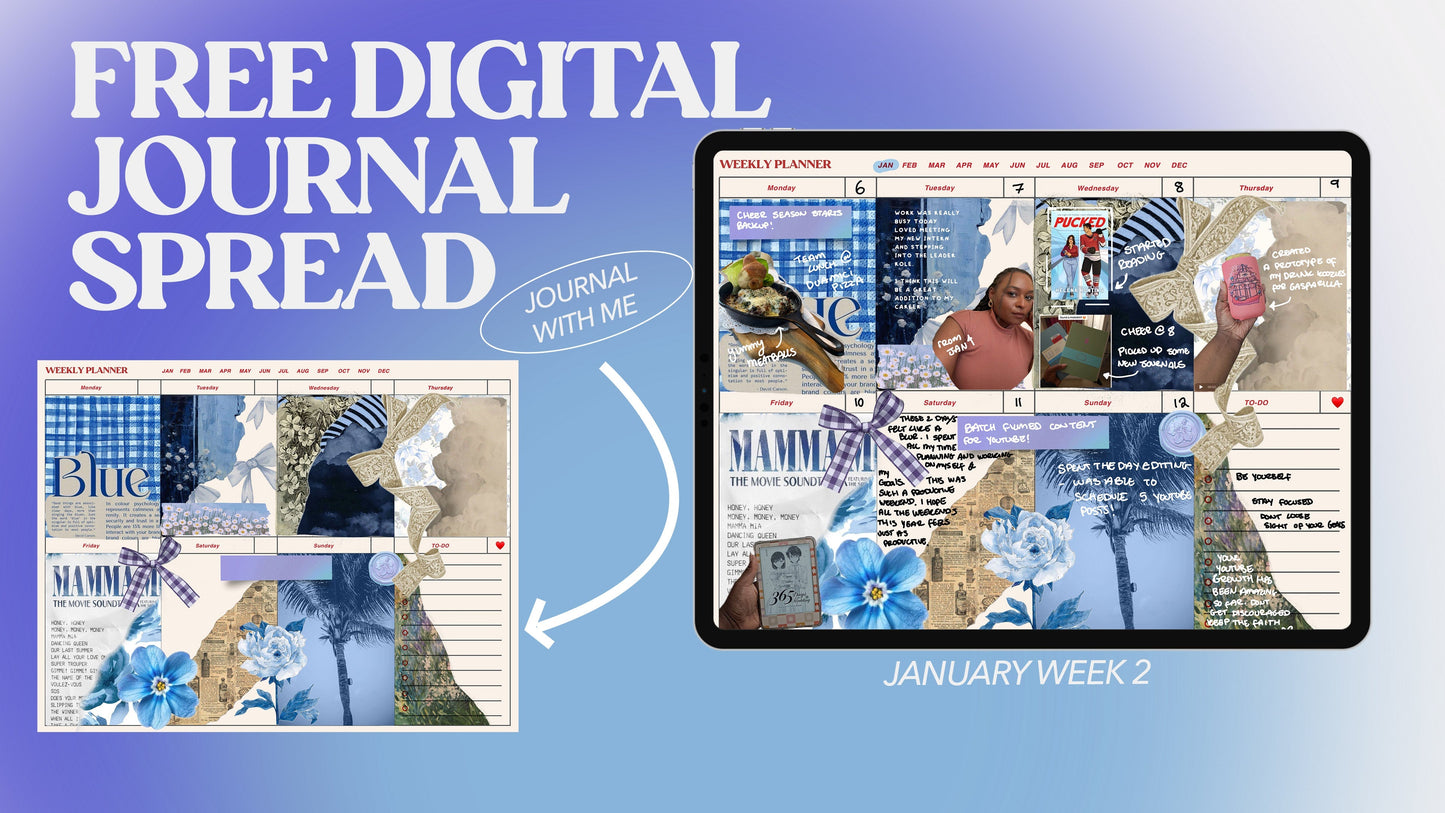
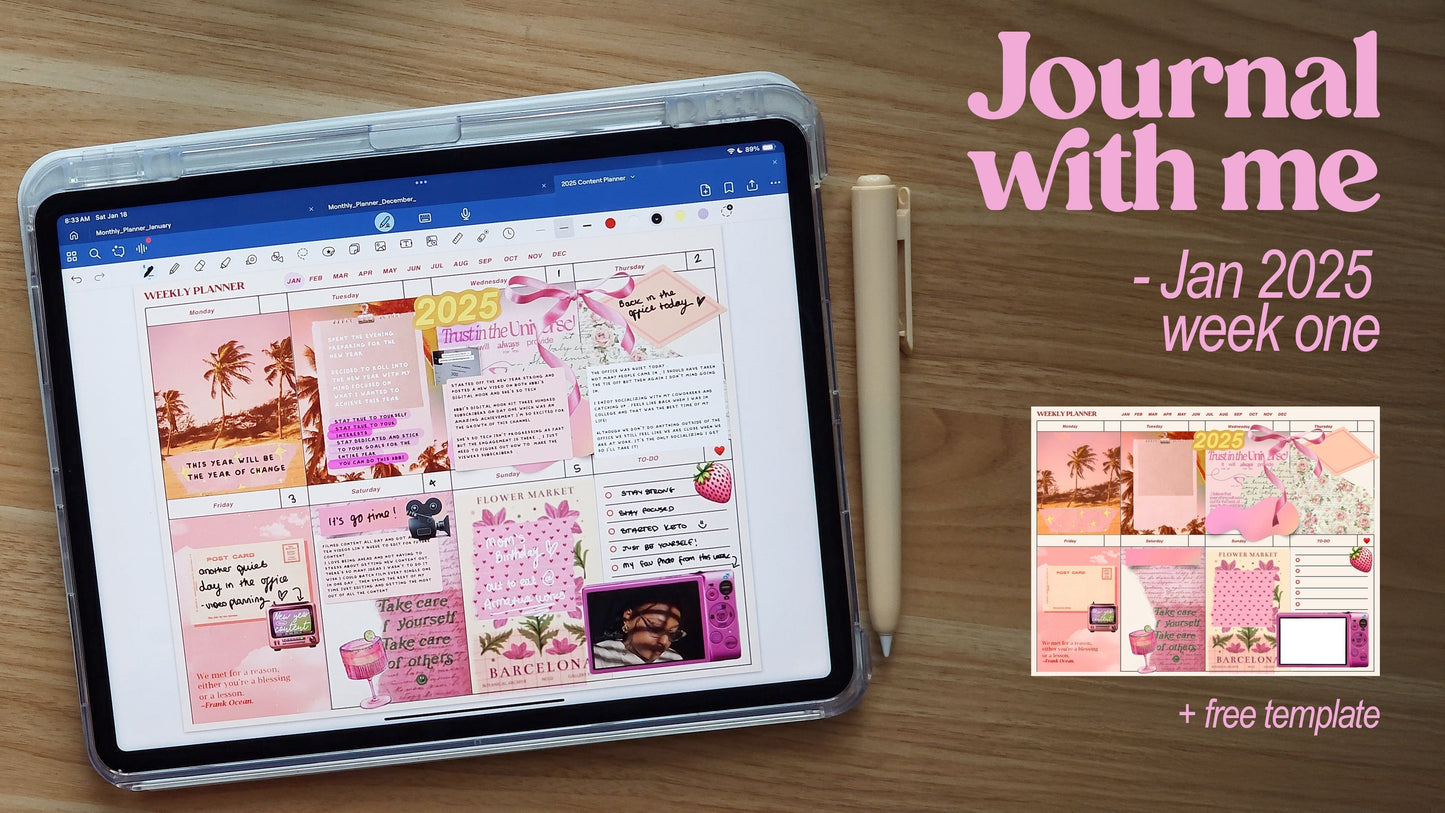
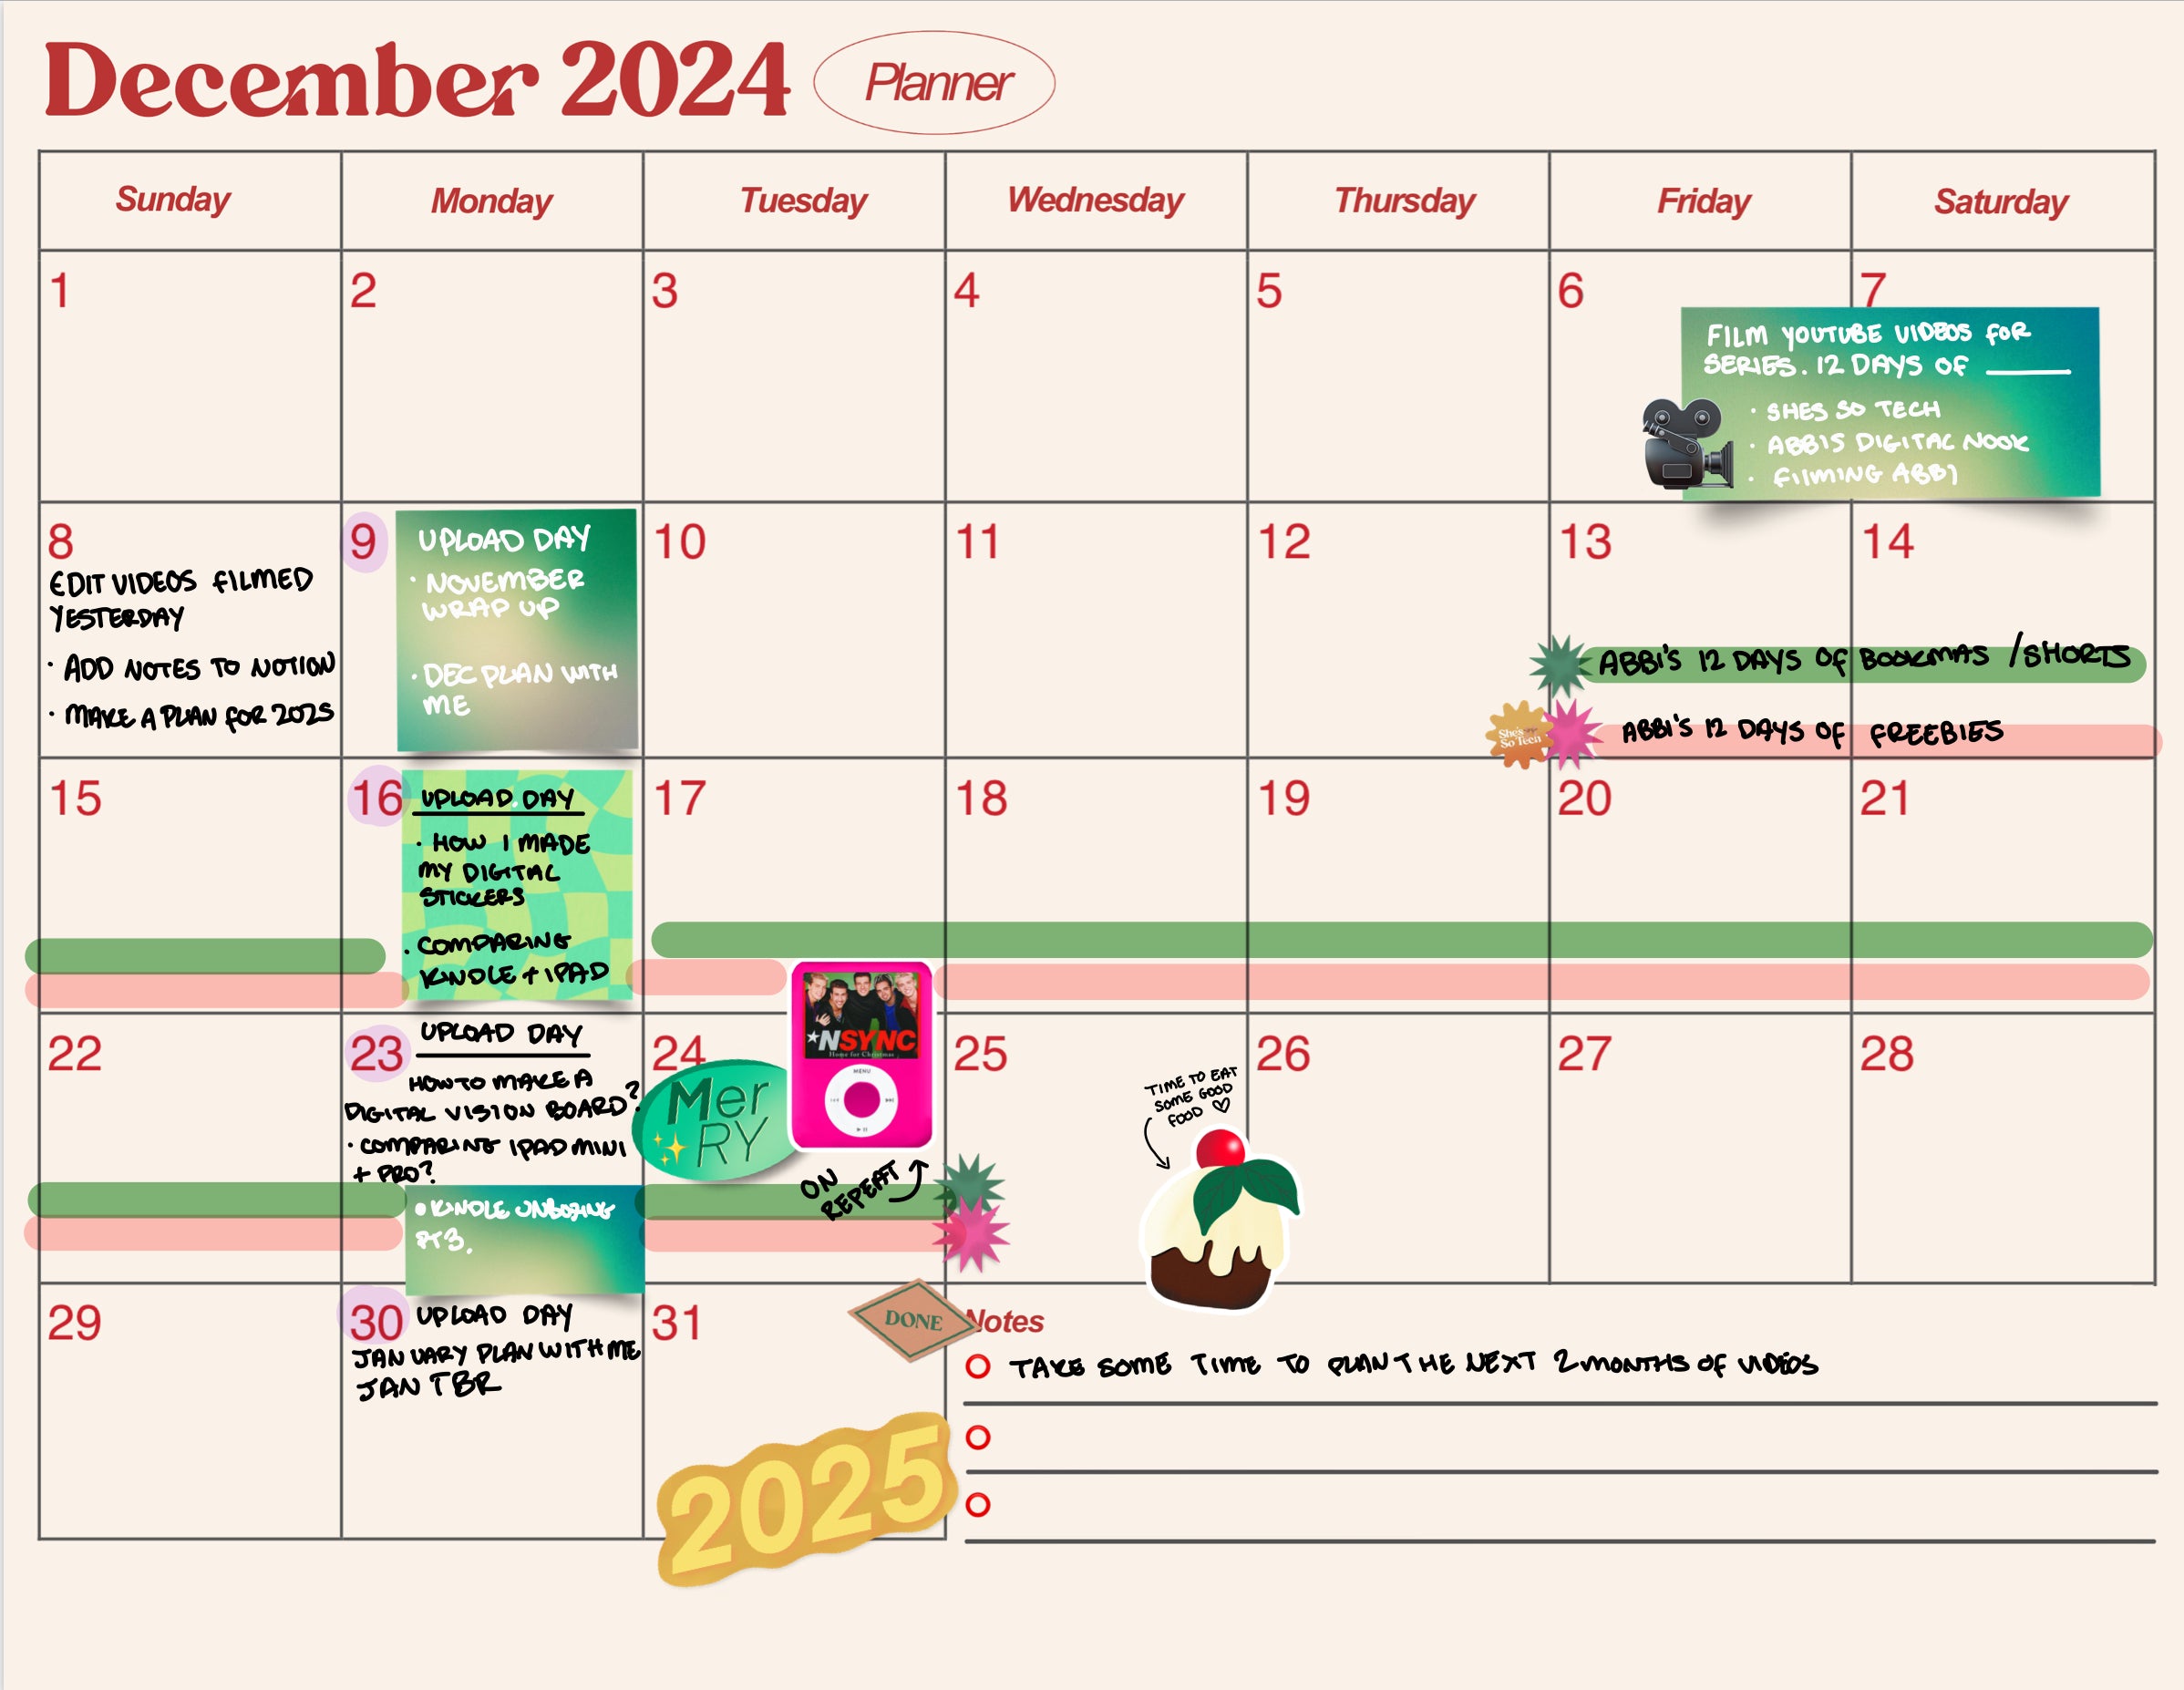
Now comes the fun part—planning your month! I use my planner to set goals, schedule events, and track habits. This is also where I added a free weekly spread I designed last week for my subscribers. (Stay tuned for more freebies in future posts!)
Planning digitally gives you the freedom to adjust and perfect your layout as the month goes on, so don’t be afraid to experiment. 💡
Why I Love Digital Planning
Digital planning is perfect for anyone who loves combining creativity with productivity. It’s also eco-friendly, endlessly customizable, and just plain fun! Whether you’re a planning pro or new to GoodNotes, designing your own planner is a great way to stay inspired and organized.
Download links
💻✨ Love Digital Planning? Let’s Stay Connected! ✨💻
If you enjoyed this post and want more tips, tutorials, and freebies for digital planning, don’t forget to check out my YouTube channel, She’s So Tech! 🎥 I share everything from designing planners and stickers to creative iPad hacks and productivity tips—all tailored to inspire your inner techie queen. 👑
👉 Subscribe here and join our growing community of creative minds! 💕 Let’s design, plan, and thrive together.
